The Lucy Saga - Part 3 - Seats
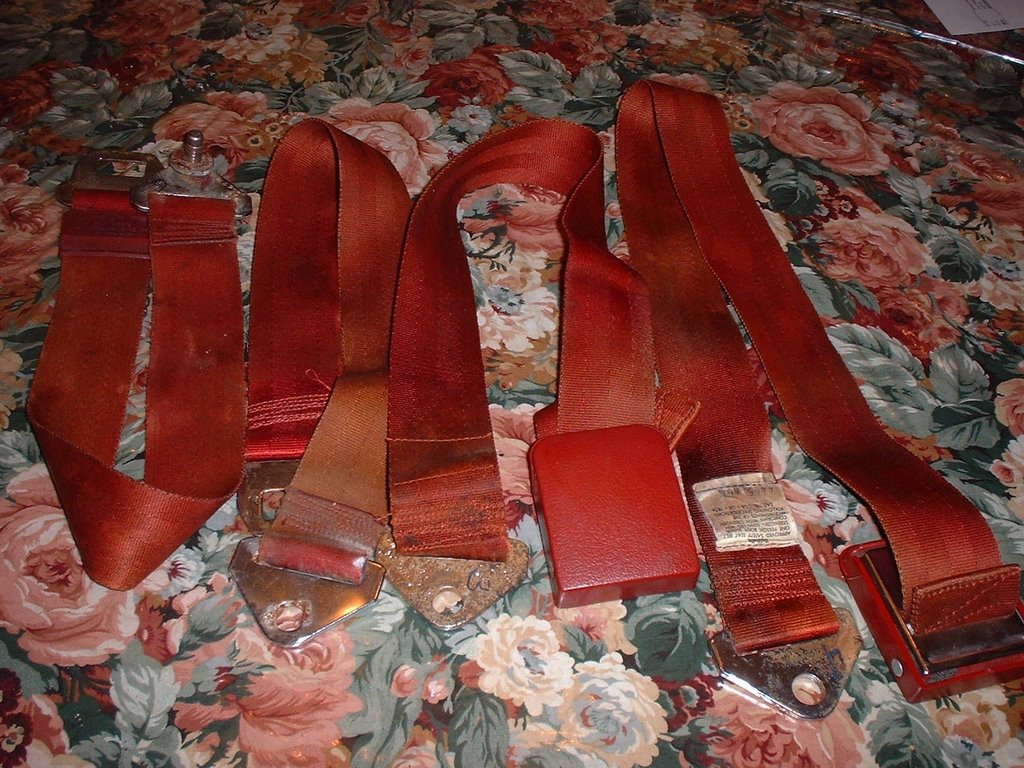 My job was the seatbelts...they were really faded and stained. So we bought a couple bottles of Rit dye and cooked them on the stove for a half hour. These are the back seatbelts before dying.
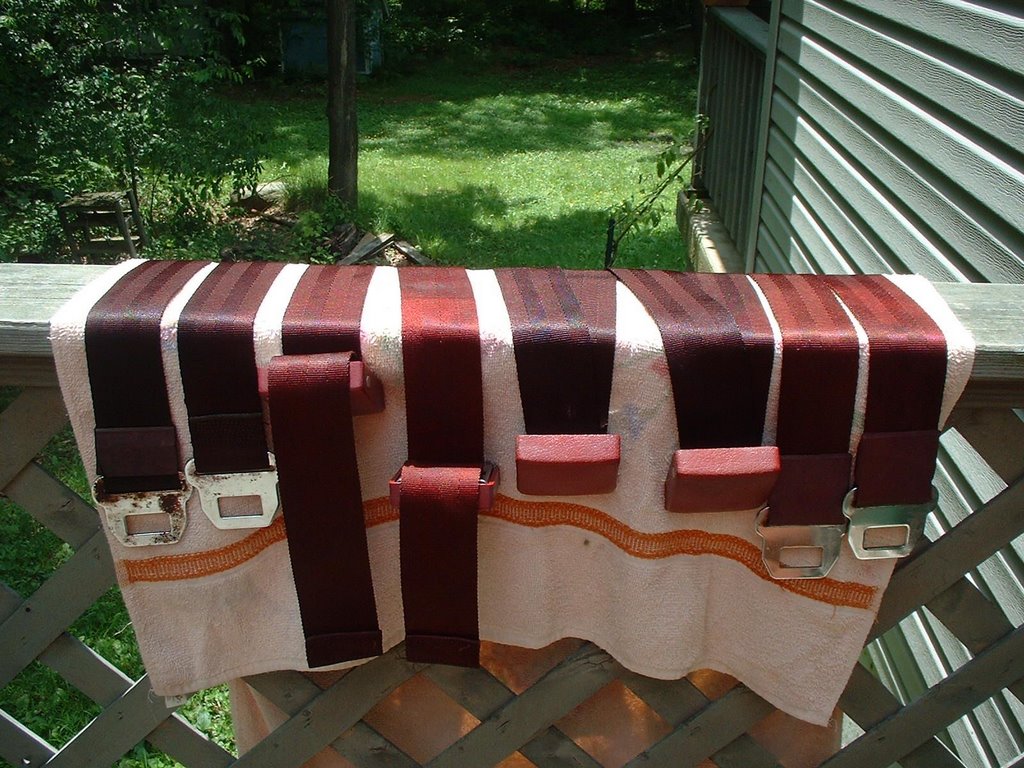 Here they are after being dyed. They are almost dry. As you can see, some dyed a bit darker than others...but they are much much better than before. There was nothing wrong with the seatbelts, so we decided not to purchase replacement ones. The biggest deciding factor was we couldn't find replacement ones with the same buckle/latch style...and, well, I'm a bit of a purist and wanted what belonged in there!
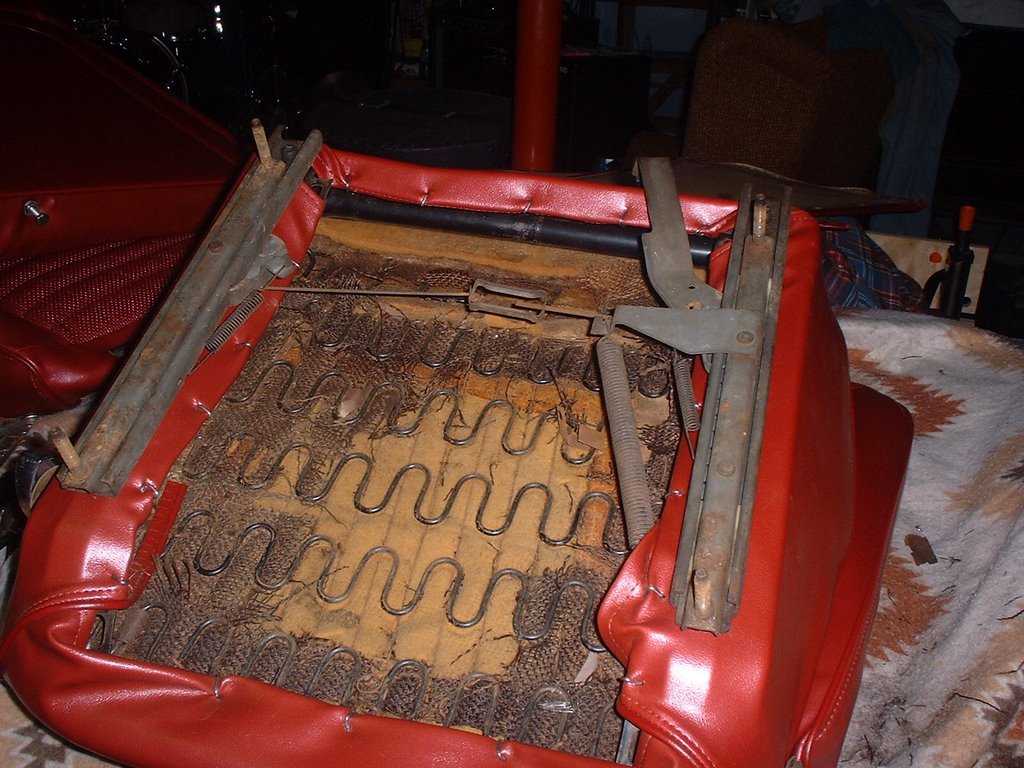 Here's the bottom of the seat, you can see the seat rails and the adjuster lever. The seat rails were broken on this seat and needed replaced... Before you can recover a seat, you have to remove all the chrome trim and hardware from the seat.
 Here's the seat taken apart...this upside down one is the seat back...the other one, with the slits in the seat, is the seat bottom. This is the driver's seat...the only one with upholstery tears. The chrome trim and the seat rails have been removed from the bottom and it is ready to remove the old cover.
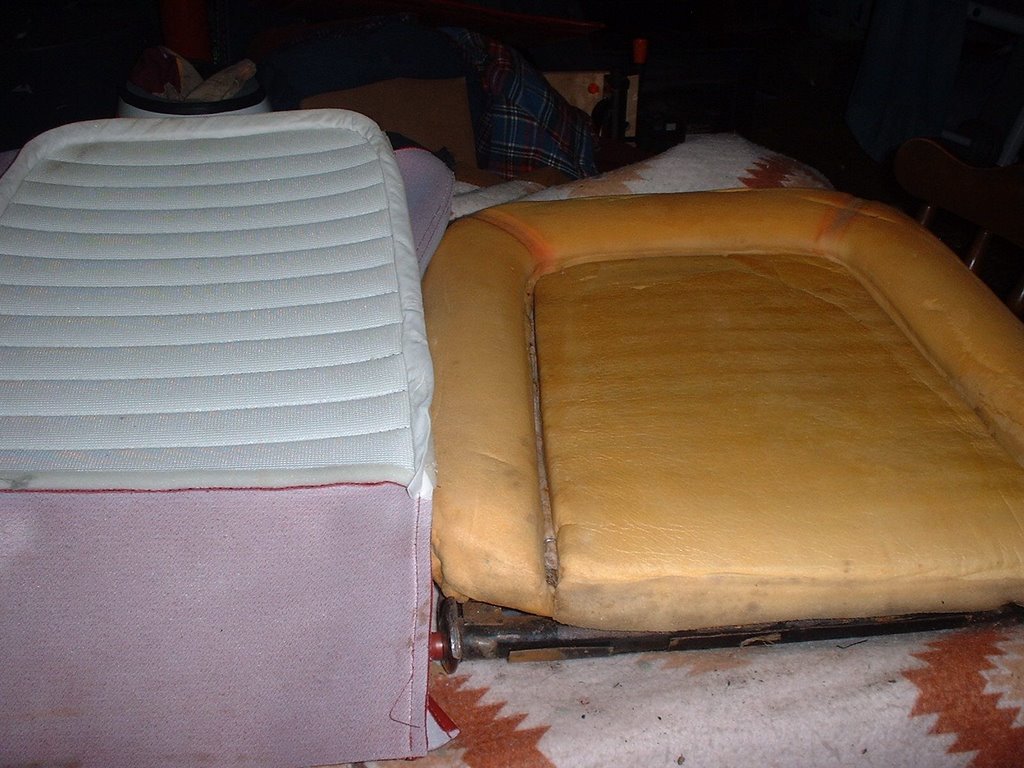 Seats...here is one of the seats...this is the back of the seat, with the old cover removed. There is a wire down in that groove of the foam, you have to remove this wire (it is hog ringed to a part of the frame, I think) and thread it through the little pocket on the new seat cover. Why in the world the new seat covers do not come with their own wire installed is beyond me! This was by far the hardest part of the seat covering. This new seat cover is ready to be hog ringed into the groove.
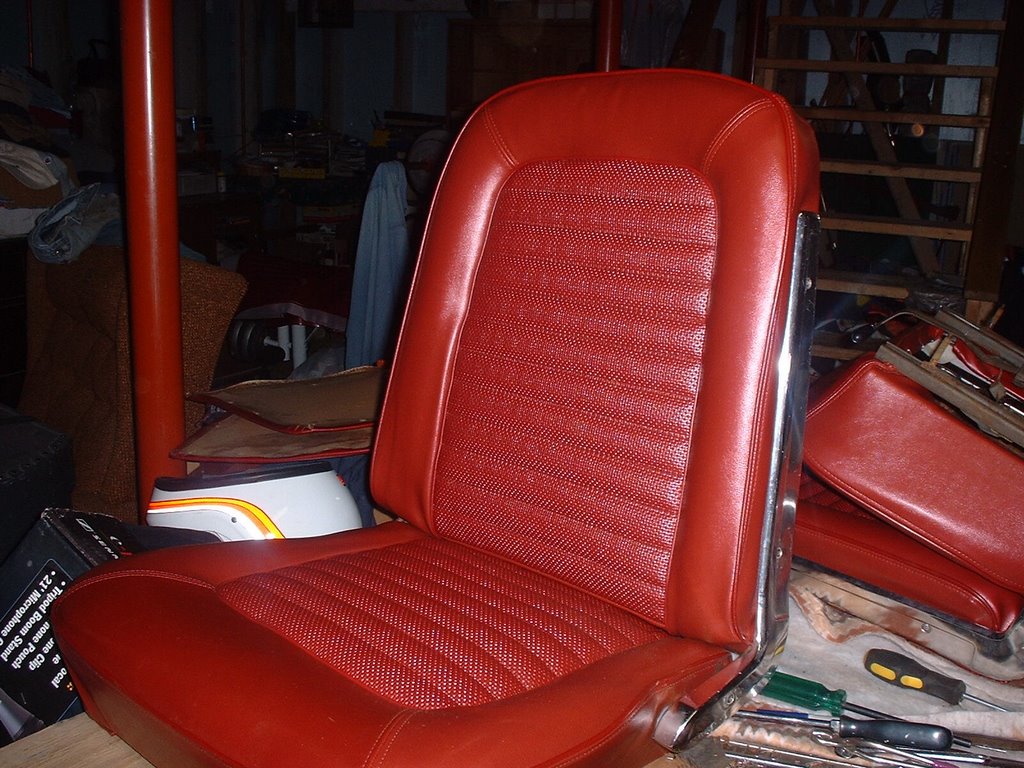 Driver's seat is all done...you can sorta see the chrome trim on the side of it.
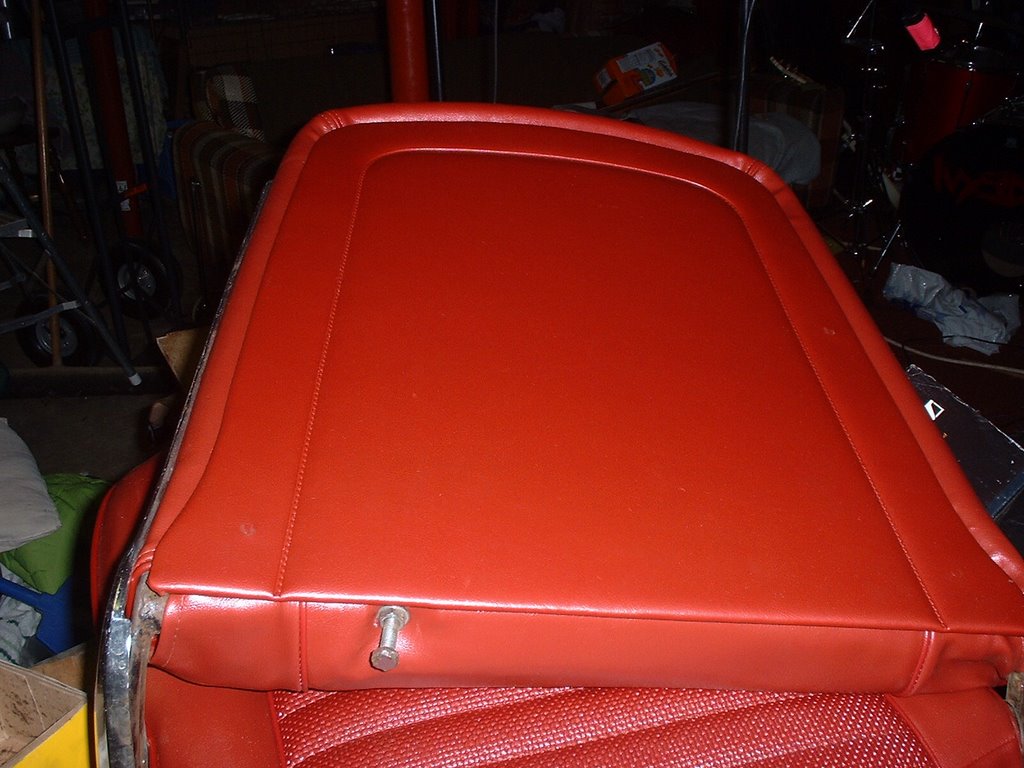 Here it is again with the back folded down, like it would be for the person to get out of the back seat. You can see the seat stop thingie in this picture. These seats were famous for that breaking off and the seat back falling into the back seat. Apparently this seat never had that problem because these are fine.
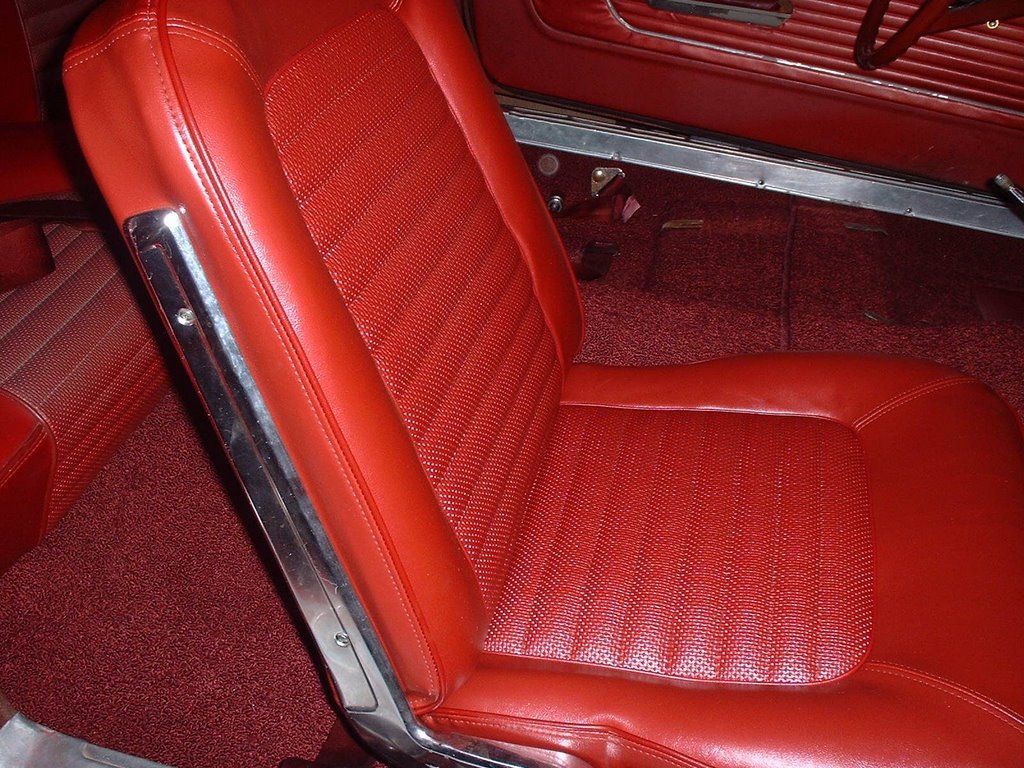 Here's the driver's seat, installed in the car.
 Because of our time schedule for want the car on the road, we didn't recover the back seat. It is the easiest to get out and we will finish that sometime this summer. And the upholstery wasn't that bad in this car, only the driver's seat...so, here's the old back seat put back into the car... Notice the newly dyed seatbelts? The one laying in the center of the seat...was ready to be attached for the front seat.
posted by Denise in PA @ 6/29/2006 06:31:00 PM
1 comments
![]()

1 Comments:
The seats look terrific Denise! that hard work is sure paying off!
Post a Comment
<< Home